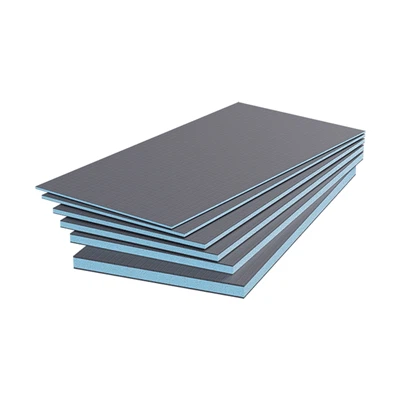
Installing backer board (such as drywall or wood backer board) is a common task in home renovations. Below are detailed steps and precautions.
First, gather your tools and materials, including backer board, a hammer, nails or screws, a level, a ruler, a pencil, a cutter, and protective glasses. Keep your work area clean to avoid unnecessary hassles.
1. **Measure and Mark**: Use a ruler and pencil to measure the desired location on the wall. This should generally be planned based on the room's layout to ensure the backer board looks beautiful after installation.
2. **Cut the Backer Board**: If the backer board is not the correct size, use a cutter to cut it according to the markings, ensuring a smooth cut for a better fit.
3. **Secure**: Align the cut backer board to the marked location. Use a level to ensure it is level and plumb. Pay special attention to the joints to avoid noticeable gaps.
4. **Nailing or Screwing**: Secure the backing board to the wall with nails or screws, generally spaced 30-40 cm apart. Ensure the nails or screws are fully embedded in the board, preventing any protrusions.
5. **Seam Treatment**: After installation, inspect all seams and treat them with a dedicated caulk or tape to prevent cracks and dents. Sand the surface to achieve a smooth finish.
6. **Finish**: After confirming that the backing board is installed intact, paint or other finishes can be applied to achieve the desired effect.
Throughout the installation process, maintain safety precautions and wear safety glasses and gloves to ensure a smooth work process. After completion, clean up the site for subsequent renovations.