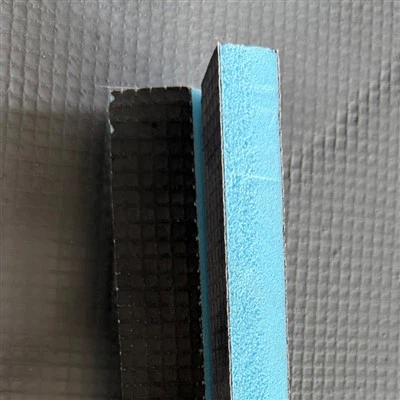

Hey there! If you're looking to install waterproof tile backer around pipes, you've come to the right place. As a supplier of top - notch Waterproof Tile Backer, I've seen it all and I'm here to share some tips and tricks with you.
Why Use Waterproof Tile Backer Around Pipes?
First off, why bother with waterproof tile backer around pipes anyway? Well, pipes are areas where water can easily seep through. If you don't have proper waterproofing, water can get behind your tiles, causing mold growth, rotting of the underlying structure, and ultimately, tile failure. A good waterproof tile backer acts as a barrier, preventing water from reaching the subfloor or wall and keeping your tiled area looking great for years.
Materials You'll Need
- Our 10mm Waterproof Board: It's sturdy and provides excellent waterproofing. The 10mm thickness is great for areas that experience more wear and tear or for larger pipe installations.
- 6mm Waterproof Board: This is a bit thinner and more flexible, perfect for smaller pipes or areas where space is limited.
- Waterproof Back Panel: It can be used to cover the backside of the installation, adding an extra layer of protection.
- Measuring tape: To accurately measure the pipe's diameter and the area around it.
- Utility knife: For cutting the waterproof tile backer to size.
- Drill: To make holes for the pipes.
- Screwdriver: To secure the backer board in place.
- Sealant: To seal the edges and any gaps around the pipes.
Step - by - Step Installation Guide
Step 1: Measure the Pipes
The first step is to measure the diameter of the pipes. You'll want to know this so you can cut the right - sized holes in the waterproof tile backer. Use a measuring tape and wrap it around the pipe to get the circumference. Then, divide the circumference by 3.14 (pi) to get the diameter. Make sure to measure at several points along the pipe, as pipes can sometimes be slightly out of round.
Step 2: Cut the Waterproof Tile Backer
Once you have your measurements, it's time to cut the waterproof tile backer. If you're using the 10mm or 6mm board, place it on a flat surface. Mark the center of the area where the pipe will go and use a pencil to draw a circle that's a little bit larger than the pipe diameter (about 1/8 - 1/4 inch larger).
Take your utility knife and score the marked circle on the board. Then, place it on the edge of the table and snap it along the scored line. If you need to make more complex cuts for multiple pipes or odd - shaped areas, you can use a jigsaw with a fine - tooth blade.
Step 3: Drill Holes
After cutting the circle, take your drill and make a pilot hole in the center of the circle. Then, use a hole saw bit that matches the size of the circle you cut. Slowly drill through the waterproof tile backer to create a hole for the pipe. Make sure to keep the drill straight and steady.
Step 4: Position the Backer Board
Now, it's time to position the backer board around the pipe. Slide the board over the pipe and align it with the wall or subfloor. If you're installing on a wall, make sure the board is level and plumb. Use a level to double - check.
Step 5: Secure the Backer Board
Once the board is in position, use a screwdriver to secure it to the wall or subfloor. Place screws at regular intervals around the perimeter of the board and also along the edges where the board meets other pieces. Make sure the screws are tight but don't over - tighten, as this can crack the board.
Step 6: Install the Waterproof Back Panel
If you're using the Waterproof Back Panel, place it behind the main backer board. Secure it with screws in a similar way as the main board. This panel adds an extra layer of protection against water seepage.

Step 7: Seal the Edges and Gaps
Take your sealant and run a bead around the edges of the backer board and the gap between the board and the pipe. Use a putty knife to smooth out the sealant and make sure there are no air bubbles. This will prevent water from sneaking through any small openings.
Common Mistakes to Avoid
- Cutting the holes too small: If the holes are too small for the pipes, the backer board won't fit properly, and you may have to do some extra cutting on - site, which can be a hassle.
- Not sealing properly: A poorly sealed installation can lead to water leakage. Make sure to use a high - quality sealant and apply it evenly.
- Over - tightening the screws: As mentioned before, over - tightening can crack the board, weakening the waterproofing and the overall structure.
Tips for a Successful Installation
- Work in a well - ventilated area, especially when using sealant, as some sealants can emit strong fumes.
- Keep your tools sharp. Dull tools can make cutting and drilling more difficult.
- If you're unsure about any step, don't hesitate to consult a professional.
Wrapping Up and Reaching Out
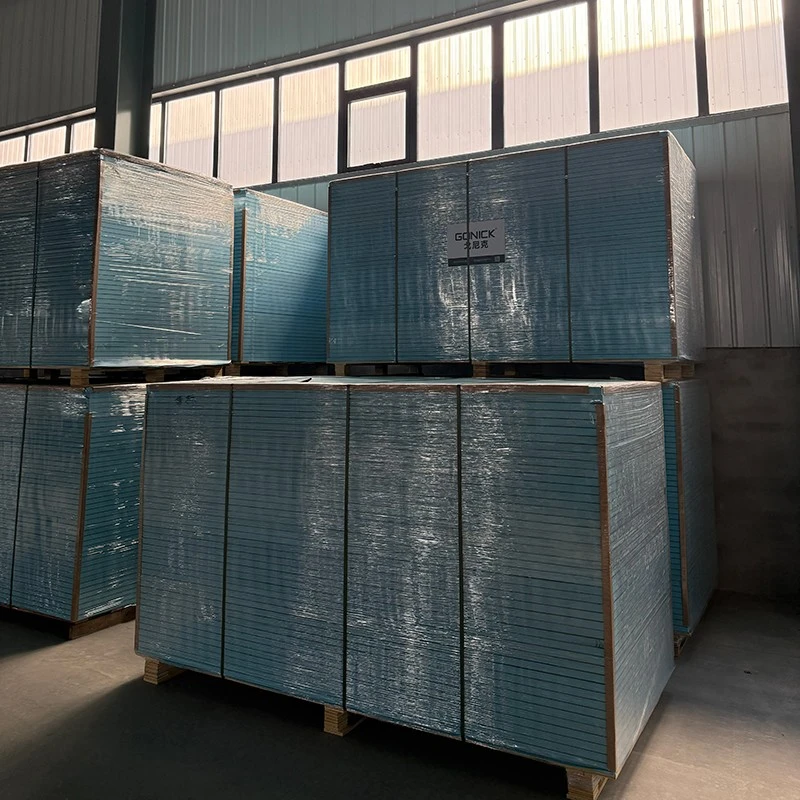
Installing waterproof tile backer around pipes doesn't have to be a difficult task. With the right materials, like our 10mm Waterproof Board, 6mm Waterproof Board, and Waterproof Back Panel, and following the steps above, you can ensure a long - lasting, waterproof installation.
If you're interested in purchasing our high - quality Waterproof Tile Backer products, whether it's for a small DIY project or a large - scale construction job, we'd love to hear from you. Reach out to us for more information, product samples, or to start a procurement discussion. We're committed to providing you with the best products and support to make your project a success.
References
- "Tile Installation Handbook" by John Smith
- "Waterproofing for Beginners" by Jane Doe